
He Let the Knight Hang (On Purpose)
GM aspiringstar leaves a knight hanging, and detonates a kingside attack.
Discuss this blog post in the forum thibault
 GM Avetik_ChessMood
 IM Lizard1
 IM Lizard1
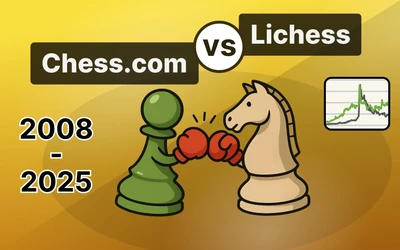 ChessMonitor_Stats
 IM Lizard1
You may also like
thibaultHow I started building Lichess
I get this question sometimes. How did you decide to make a chess server? The truth is, I didn't.GM Avetik_ChessMood10 Things to Give Up to Enjoy Chess Fully
Discover how embracing a lighter mindset can help you enjoy chess again and achieve better results.IM Lizard1He Trapped A Queen With Just Bishops And A Knight
After surviving an opening catastrophe that should have ended the game on the spot, Black constructs…IM Lizard1He Sacrificed His Queen Three Times
A queen sacrifice is rare. Two in the same game is extraordinary. Three is almost impossible. Yet Da…ChessMonitor_StatsWhere do Grandmasters play Chess? - Lichess vs. Chess.com
This is the first large-scale analysis of Grandmaster activity across Chess.com and Lichess from 200…IM Lizard1